Our Bathtub Reglazing Process

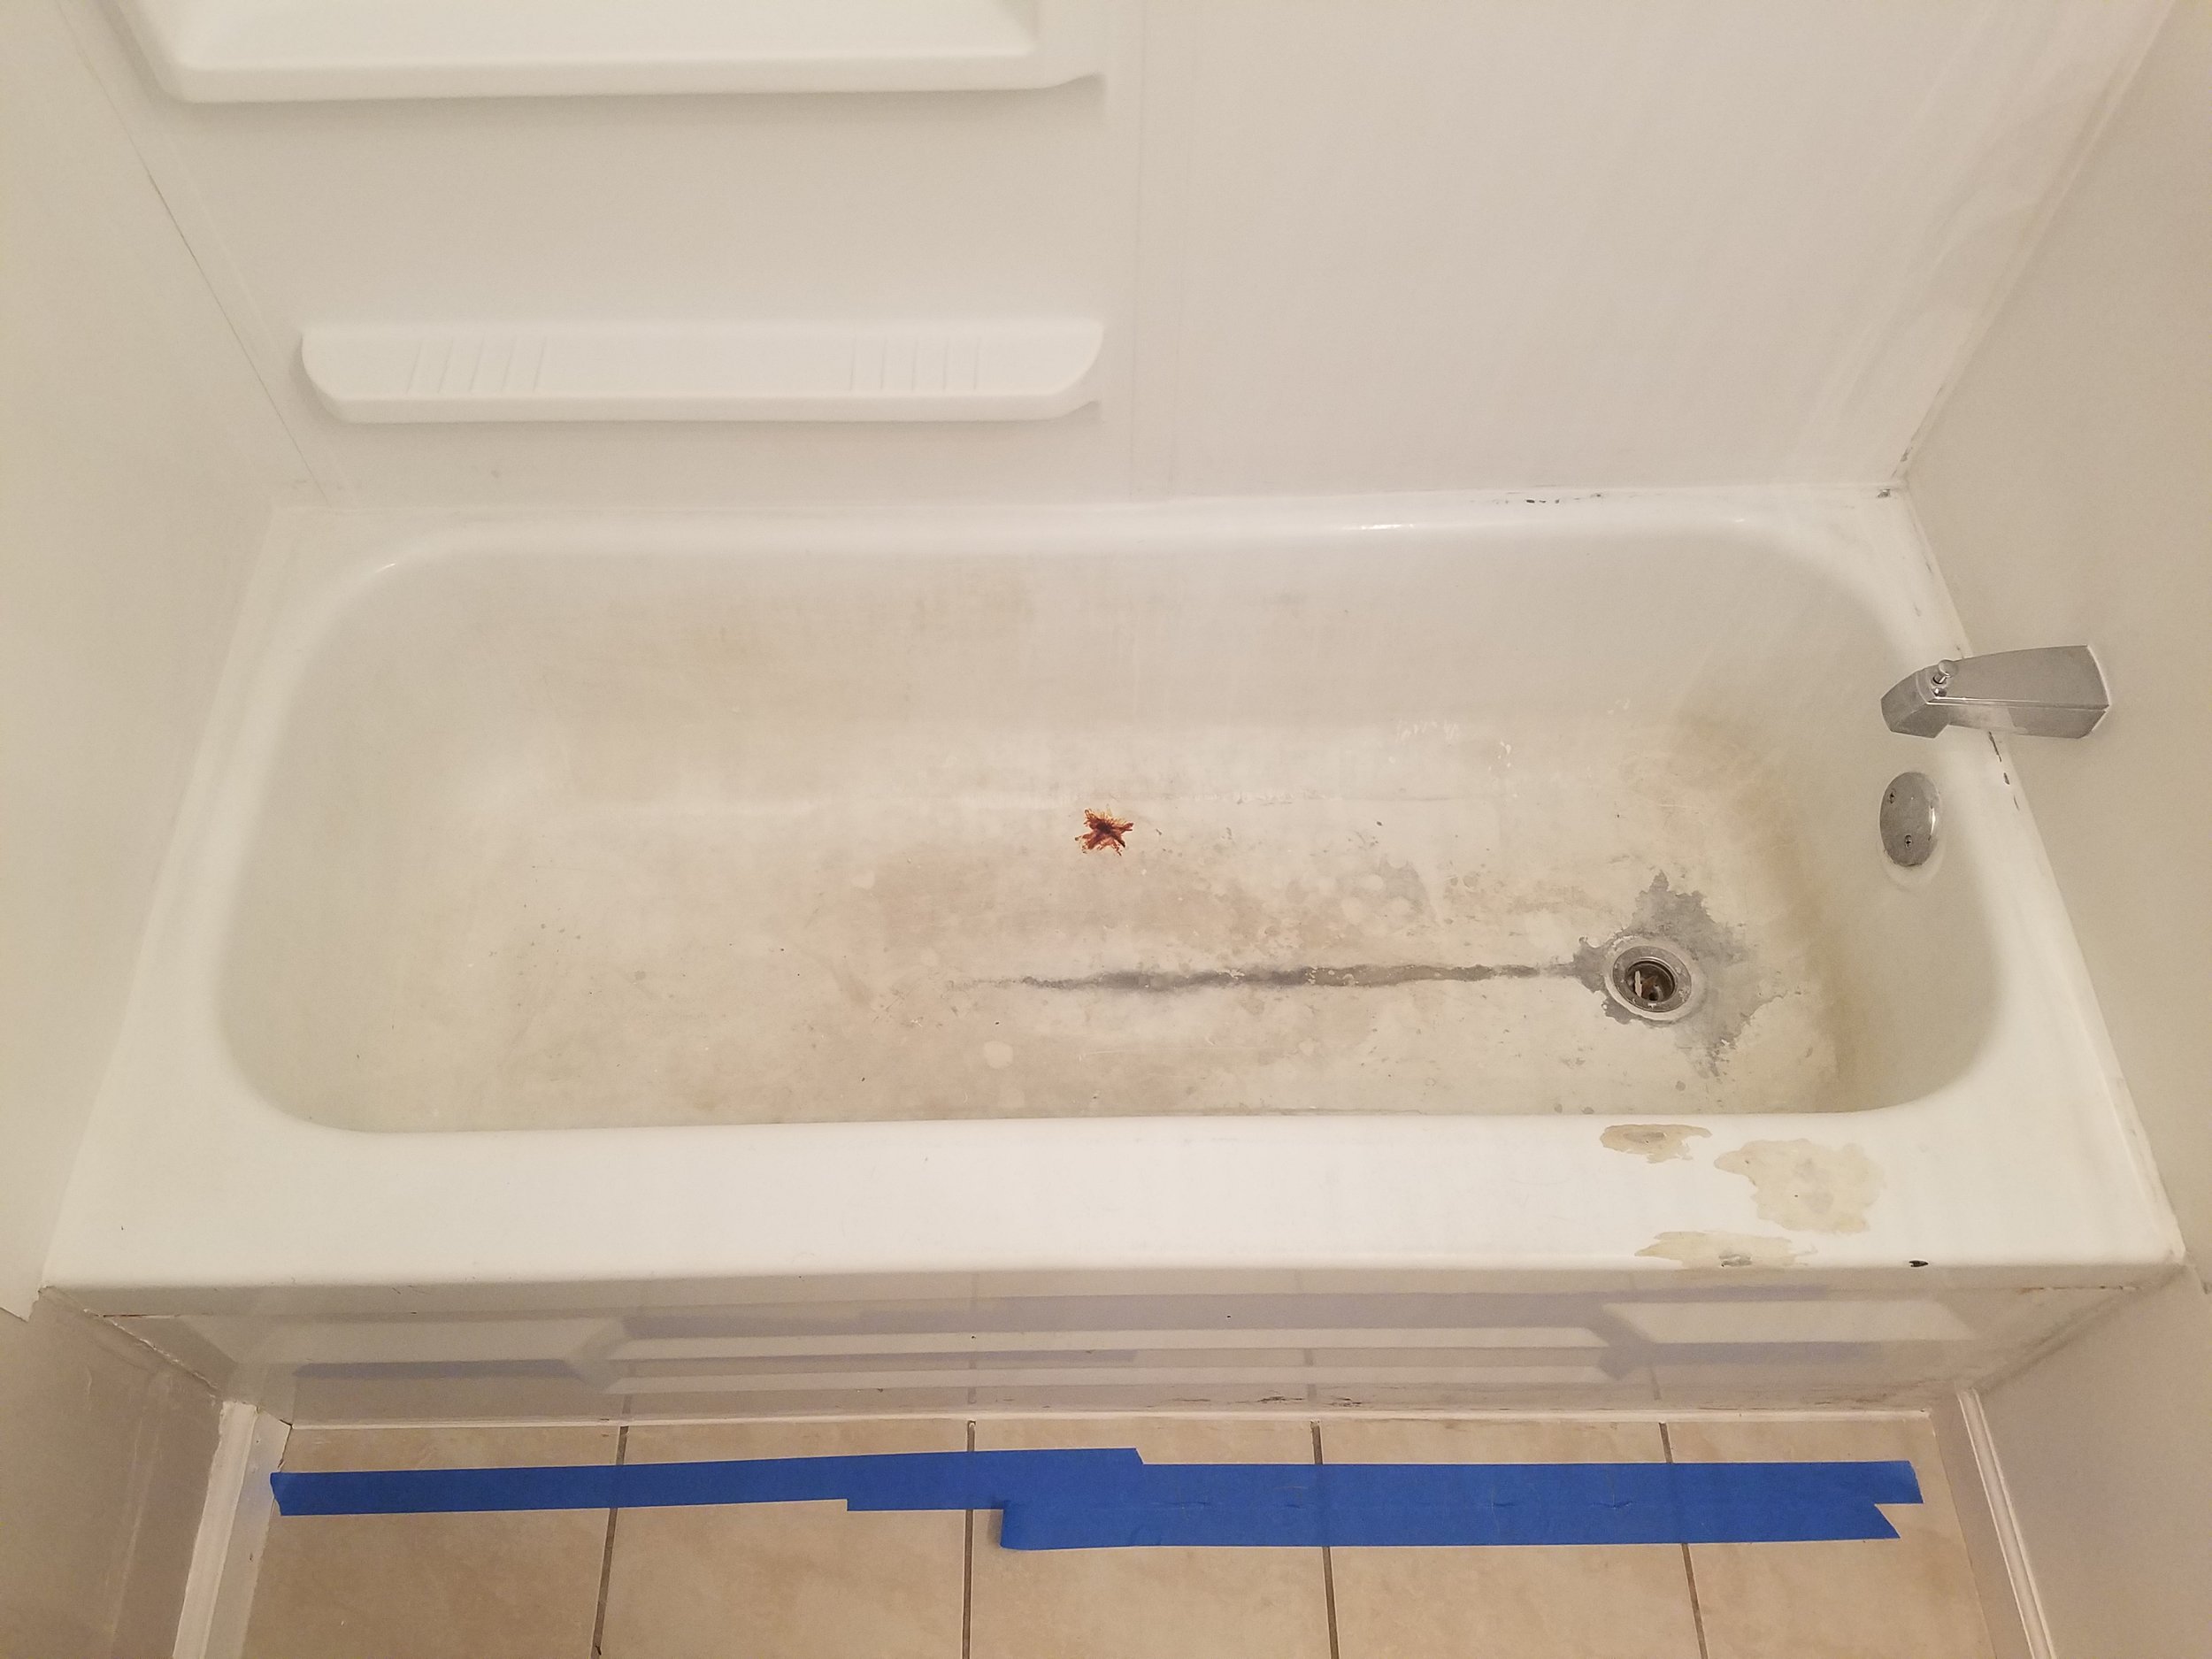
We start with your old worn out bathtub.
What potential renter wants to use this bathtub? So what are you to do? Tear out is both a costly and time consuming project. This is where Imperial Reglazing comes in, for a fraction of replacement cost we can have that tub rent ready in as little as 48 hours!

The next step is preparation.
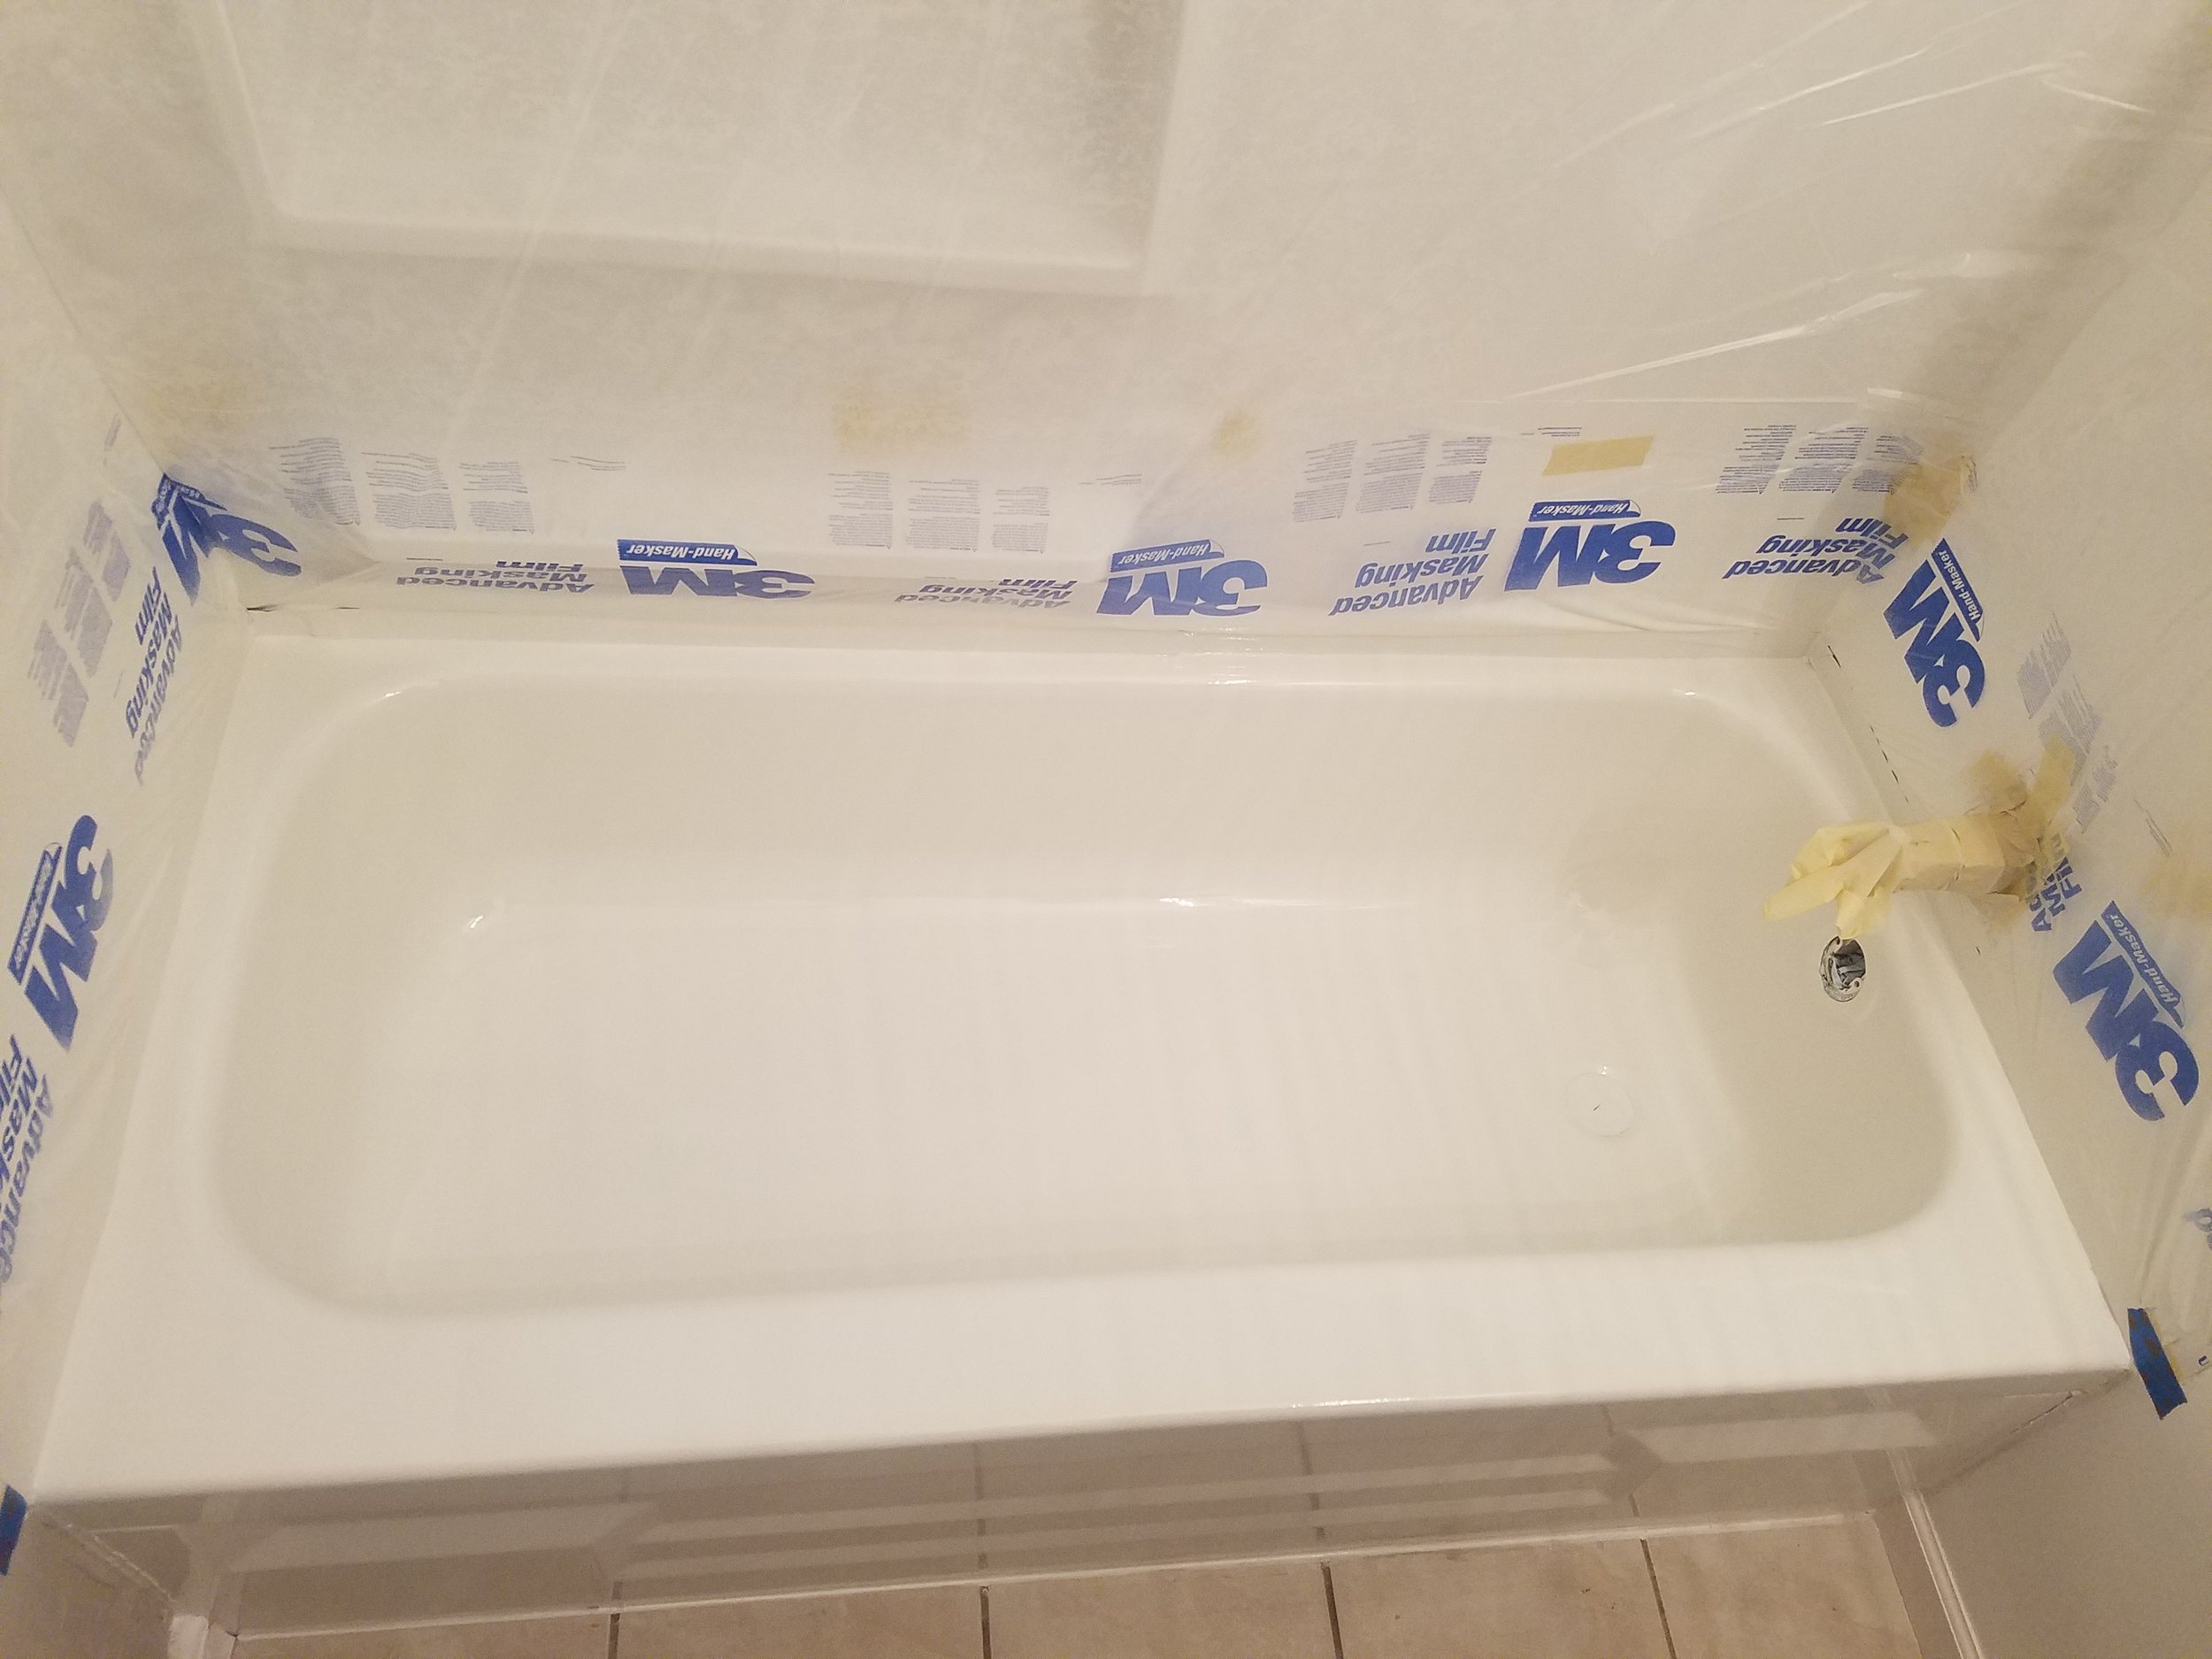
We prep each and every tub with the utmost care and attention. The prep work is what will make the difference between a great looking and long lasting finish and one that will look poor and possibly fail prematurely. We remove the caulk line, clean the tub, acid etch the porcelain, repair any damage with appropriate fillers, and then we mask the entire room. We do not skimp on or skip any of our prep steps, we will never sacrifice our quality to make our job "easier".

Make it look great again!
After we have prepared both the surface and the surrounding room we apply the new finish. We use a three step process with our reglazing system, (1) we use an adhesion promoter (2) we then apply a high adhesion epoxy primer (3) we then finish with a high gloss aliphatic acrylic urethane. The materials used are time tested and with proper care will hold up for many years of use. Again, even with this step of the process we do not cut corners or rush, each step of the system is given the proper dry time to ensure proper bonding and final appearance.

How fiberglass is reglazed
Fiberglass is an excellent material for reglazing, in most cases the tub or shower is still in decent condition and is simply an outdated color. Other times the gel coat has started to lose its shine from years of use and cleaning. No matter, Imperial Reglazing can bring your fiberglass fixtures back to life! We start by cleaning the entire tub to remove any soap residues and mineral deposits, during the cleaning process we also wet sand the entire surface of the gel coat. Next, any chips, cracks, or holes are filled and repaired. In most cases there is no extra charge for these repairs. Once these items are completed the entire bathroom is masked off and the reglazing process begins.

How do you make it look so good?
After the above prep process is completed we use a dust removing tack cloth to help eliminate as much contamination as possible. First, we apply an even and thorough coat of adhesion promoter (think super glue for paint), this is allowed to flash dry before the next step. Second, once the adhesion promoter has flashed and bonded we apply the next material which is an epoxy primer, this will give a solid foundation for the finish coat to bond with. Third, one of the most important steps comes next and many times this step is skipped or rushed by other reglazers... We wait... Waiting for the epoxy coat to dry evenly and properly is essential for proper bonding, if skipped it can risk compromising the proper bonding and final adhesion of the coatings. Skipping this step also makes it impossible to properly tack clean the surface before the final coating and this can cause excessive and unnecessary dust and grit in the final finish. Fourth, the final finish coat is applied. This top coat is applied in one continuous coat. The number of times the spray gun passes over the surface varies by many factors, some reglazers claim a certain number of "coats" that they apply. However this is very misleading and can create confusion. What matters is that the final film thickness is correct and that this is accomplished without runs, sags, or drips.